Truss
ty
Making a Truss
There are many ways to add and manage truss element in the Trussty GUI. This page will attempt to display all possible ways.
Adding Joints
A joint can be created via quick add where preview of the joint is shown on the truss view panel or via dialog.
Truss Editor Panel: Press the "Add Joint" button on the truss edititor panel and move the mouse onto the truss view. A joint preview will be shown.
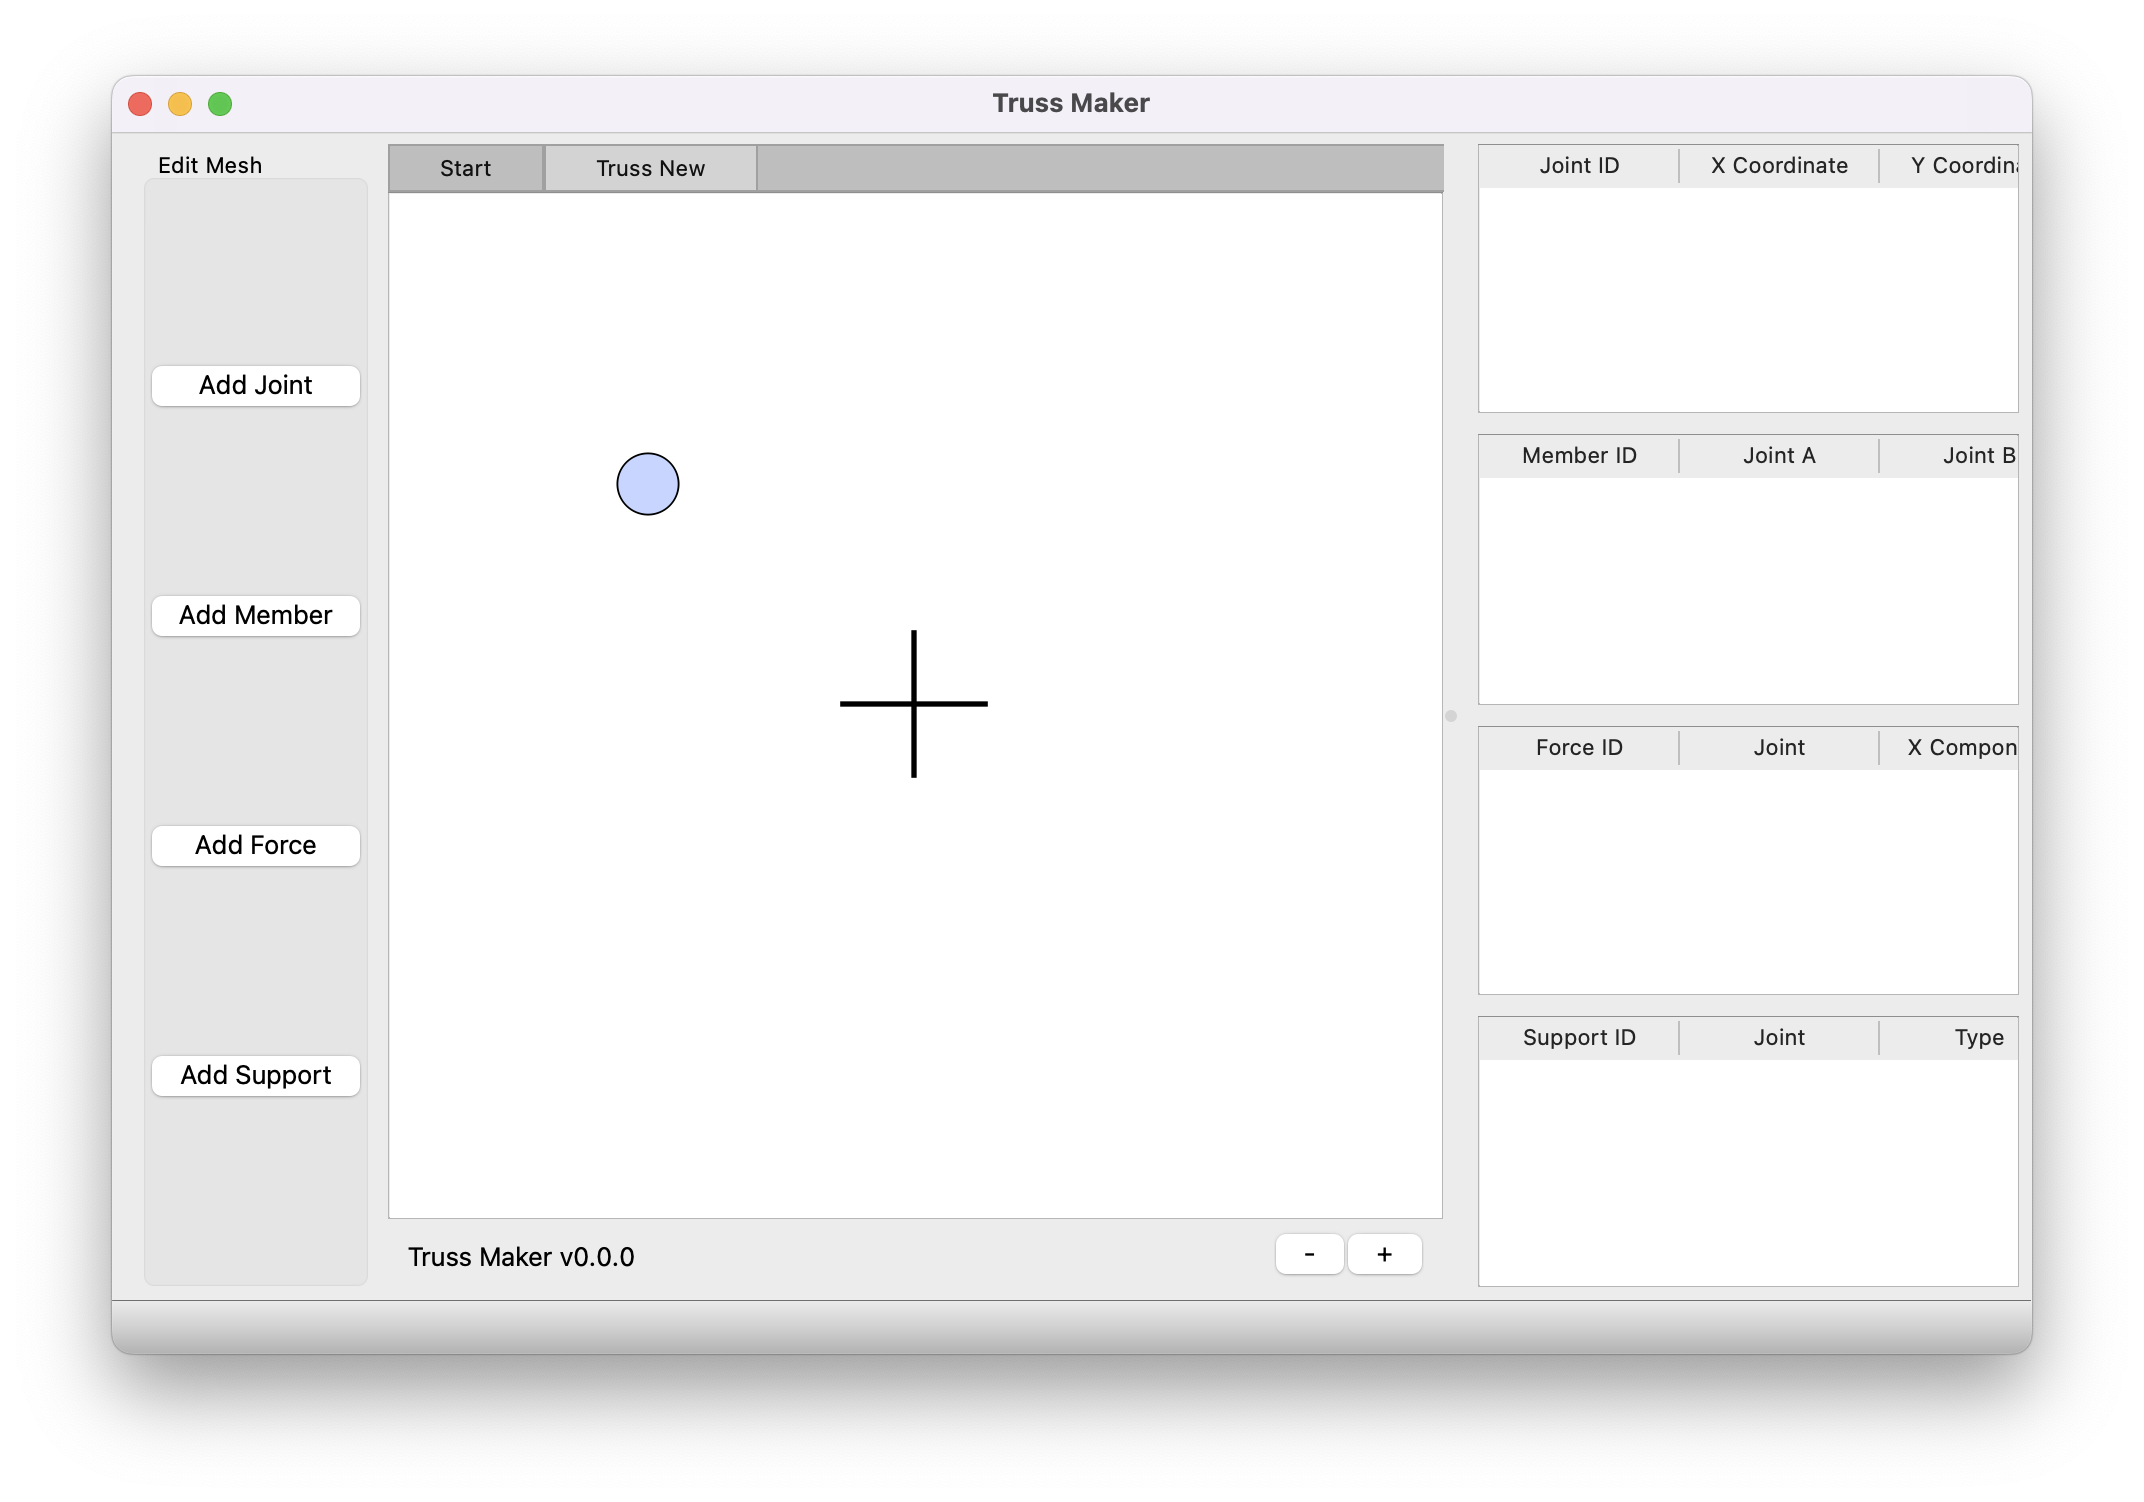
Click anywhere to place the joint.
Actions: Navigate to Edit>Add>Joint, there are the two option two add the joint.
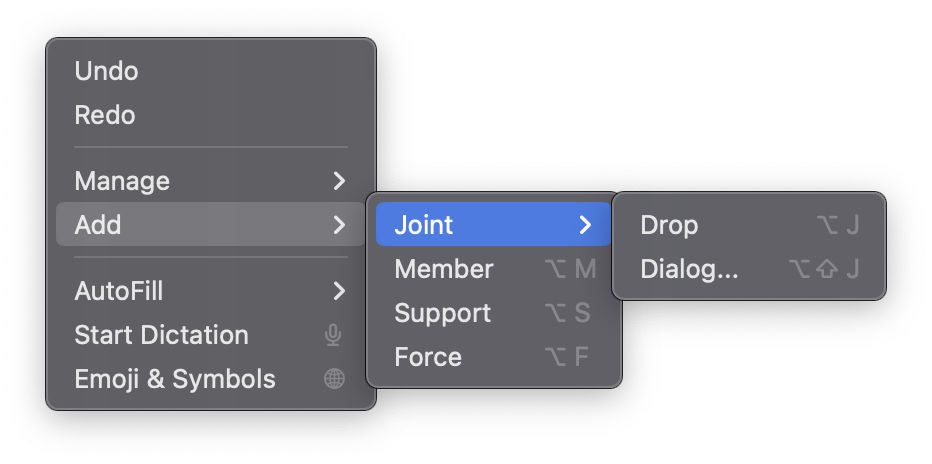
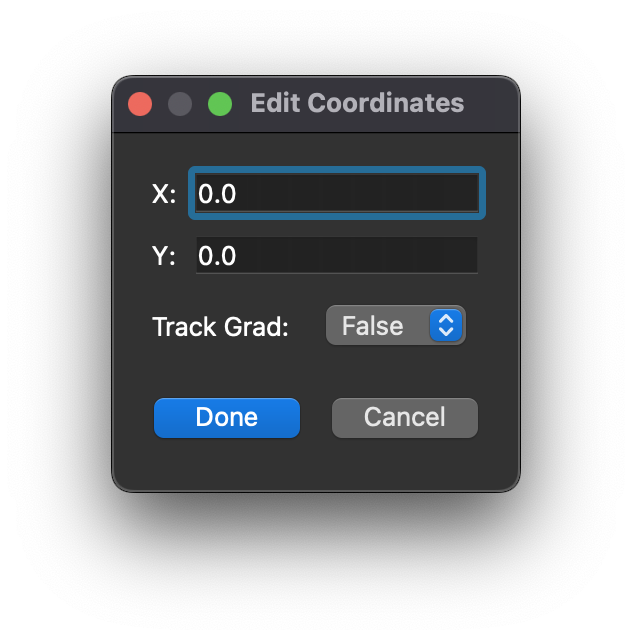
Option+J is the shortcut for quick adding a joint. Option+Shift+J is the shortcut for adding a joint via a dialog.
Tabular: Navigate to Edit>Manage>Joints...
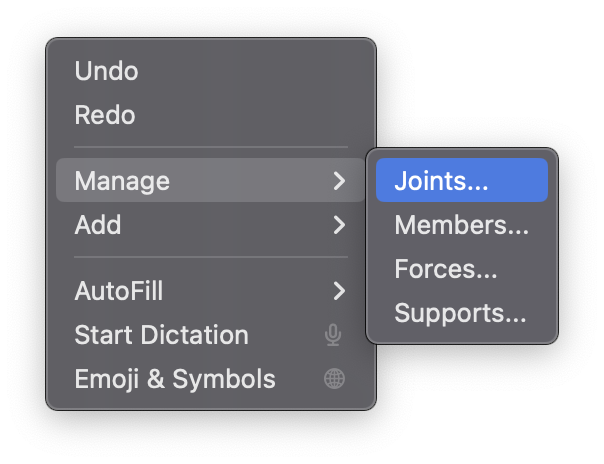
This will show all joints in the truss in a tabular view.
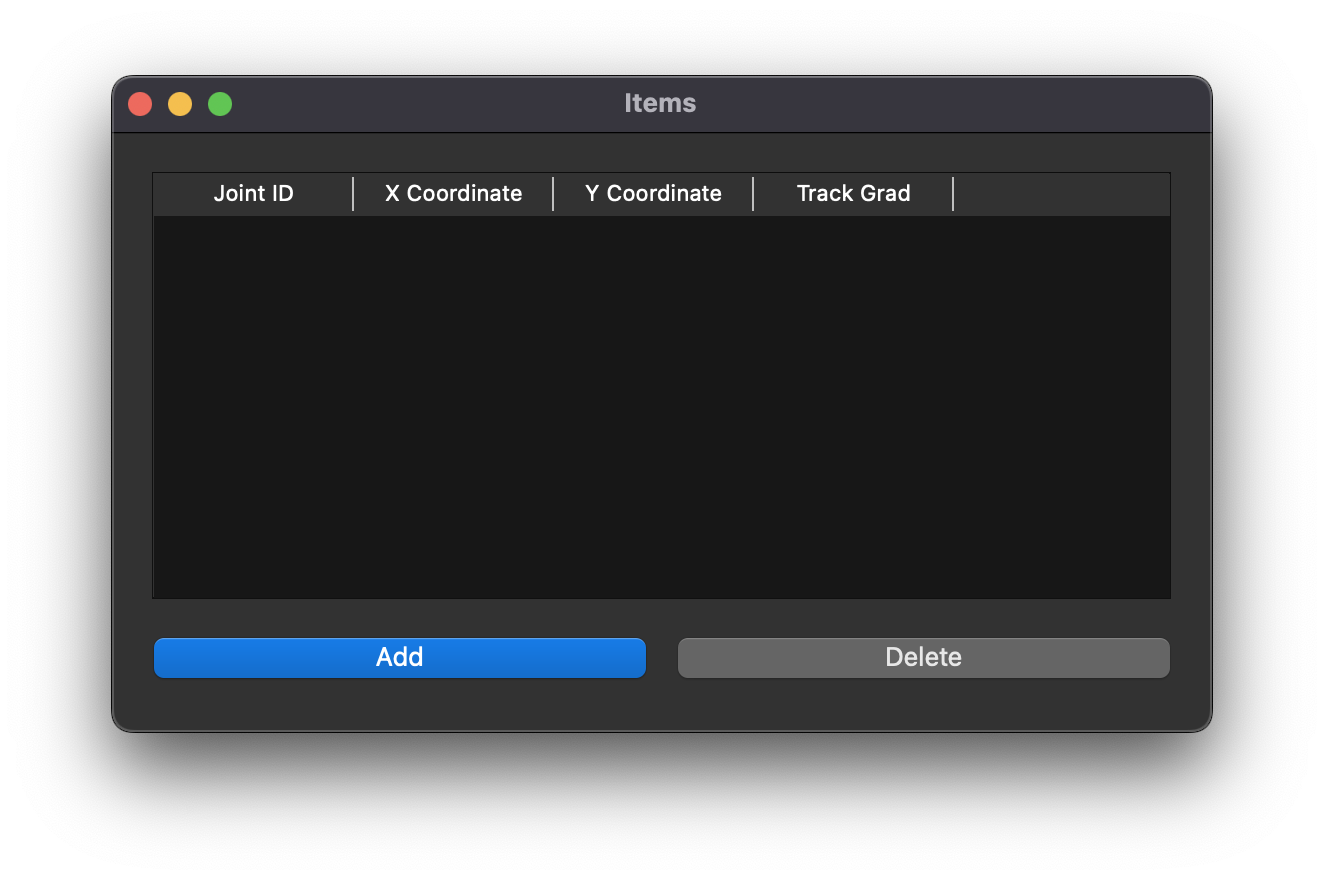
Press "Add" to adding a joint via dialog.
Adding Members
A member will be added between selected joints. Two joints must be selected to add a member or nothing will happen. If more than two joints are selected a member will be added between every combination of selected joints.
Truss Editor Panel: After selecting joints, press the "Add Member" button on the truss edititor panel.
Actions: Navigate to Edit>Add>Member.
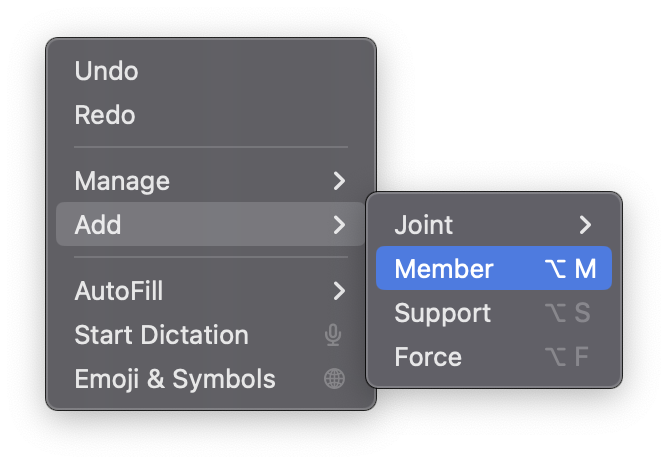
Option+M is the shortcut for adding a member.
Adding Forces
A force is added to a single joint. When adding a force, at least a single should be selected. If more than one joint is selected a dialog to add a force will be shown for each of the selected joint. If no joints are selected the user may select a joint from a drop down menu on the dialog to add a force. A joint can have multiple forces on it.
Truss Editor Panel: After selecting joints, press the "Add Force" button on the truss edititor panel.
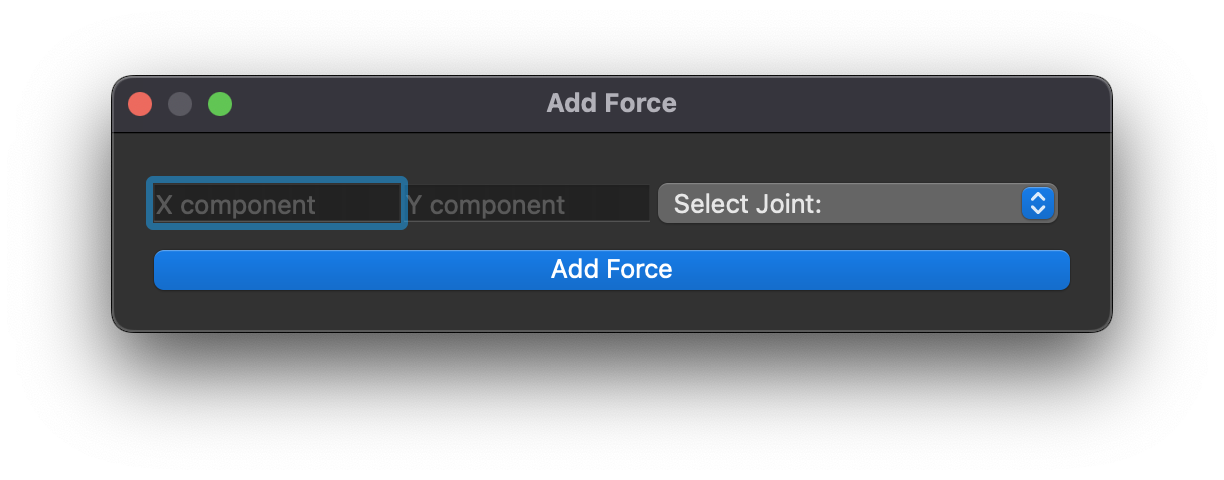
Actions: Navigate to Edit>Add>Force.
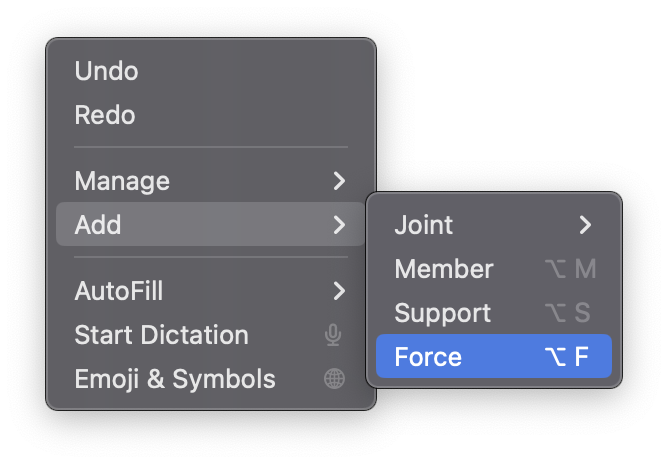
Option+F is the shortcut for adding a force.
Tabular: Navigate to Edit>Manage>Forces...
This will show all forces in the truss in a tabular view.
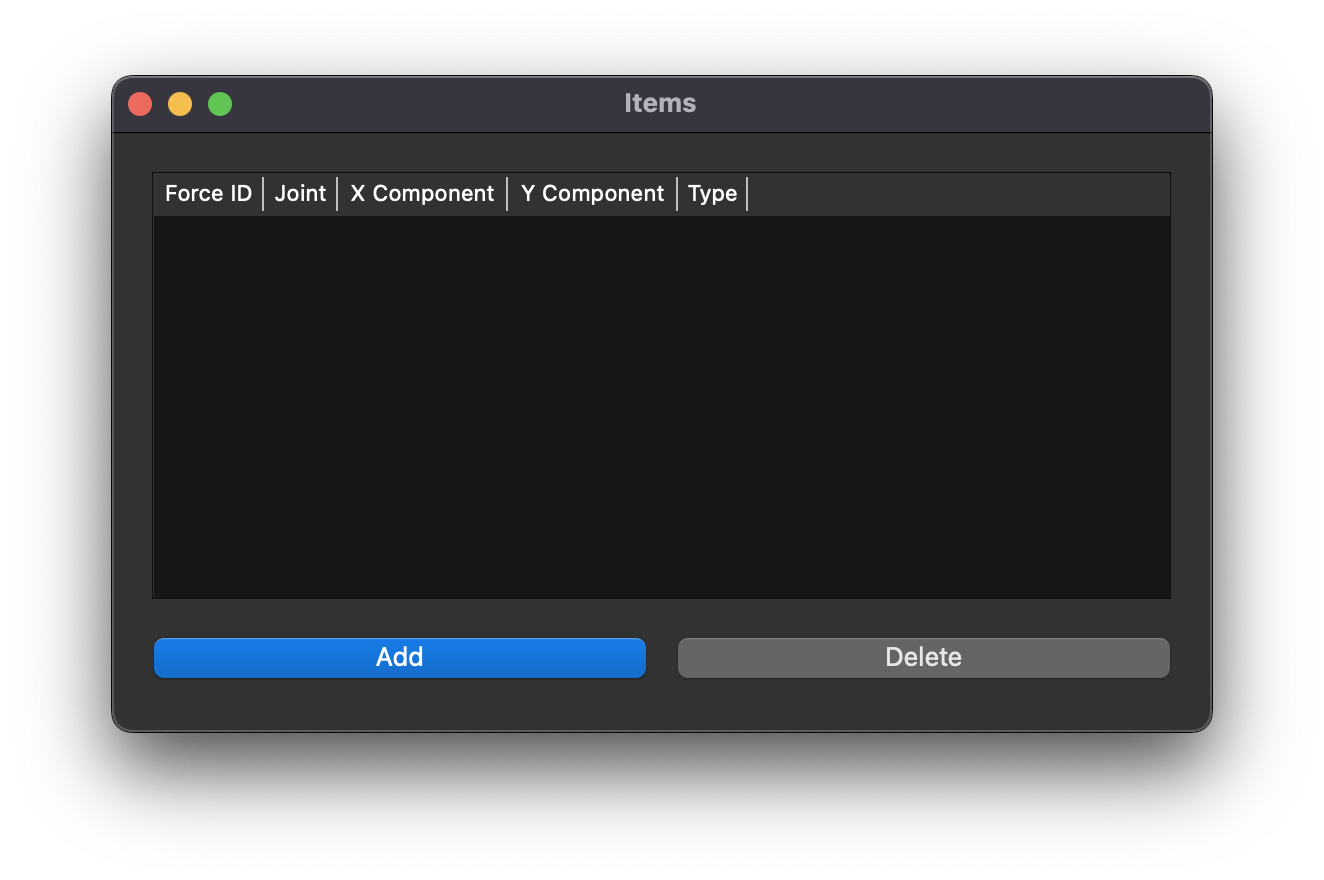
Press "Add" to adding a force via dialog.
Joint Specific Tabular: Right click a joint on the truss view and navigate to Forces...
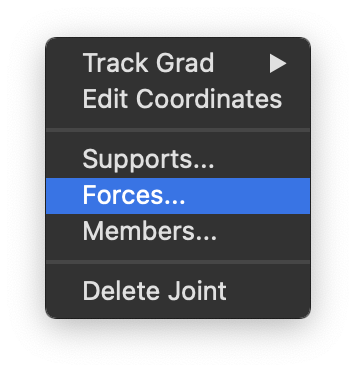
This will show all forces connected to the right clicked joint in a tabular view.
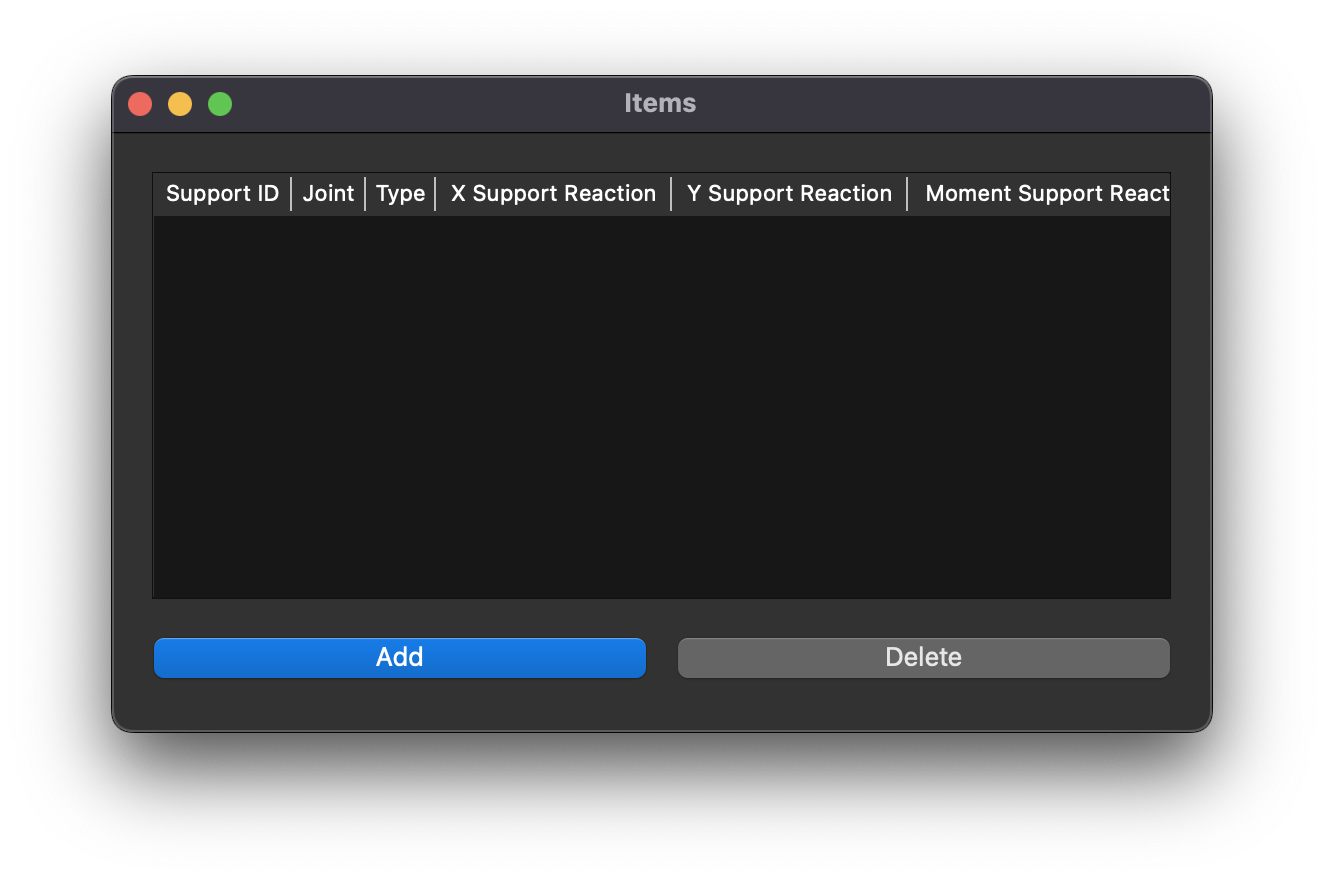
Press "Add" to add a force via dialog to that joint.
Adding Supports
A supported is added to a single joint via dialog. If joints are pre-selected a dialog will be shown for each selected joint. If no joints are selected a single dialog will be shown, however, the user will have to select a joint from the dropdown menu. A joint can only have one support.
Truss Editor Panel: After selecting joints, press the "Add Support" button on the truss edititor panel.
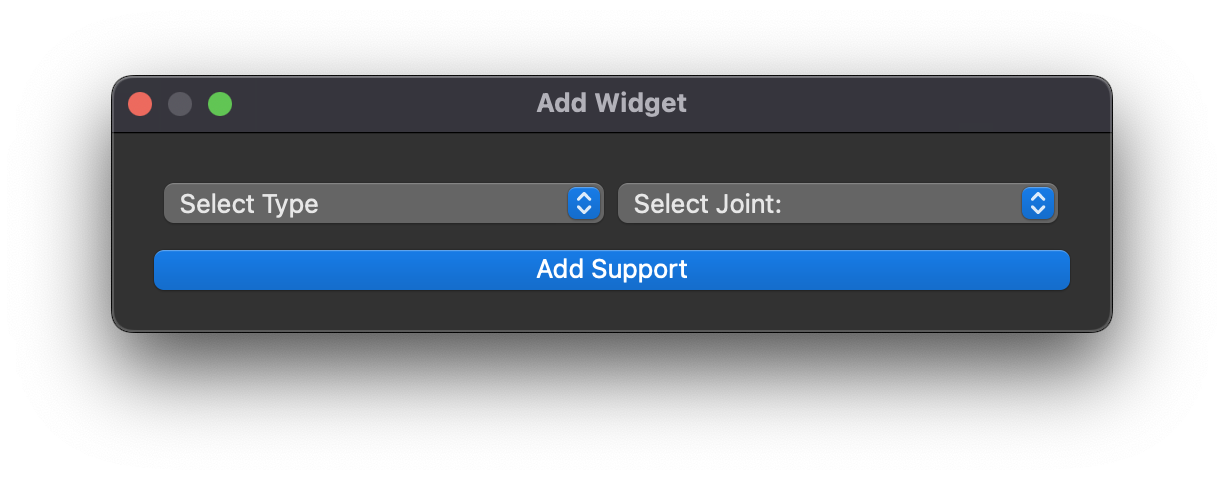
Actions: Navigate to Edit>Add>Support.
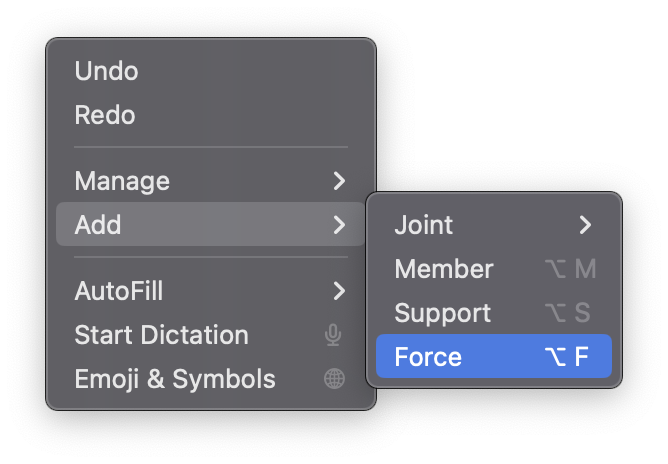
Option+S is the shortcut for adding a support.
Tabular: Navigate to Edit>Manage>Supports...
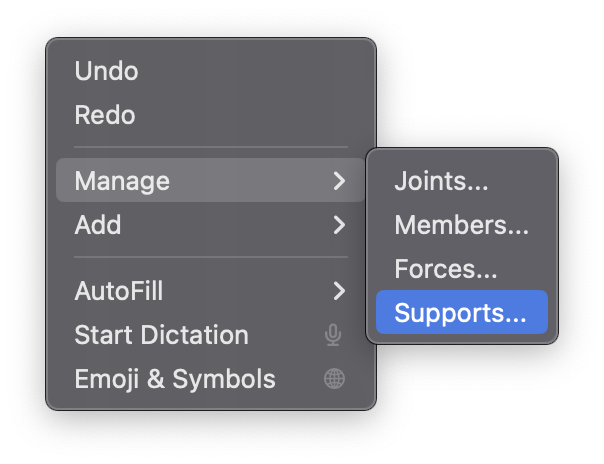
This will show all supports in the truss in a tabular view.
Press "Add" to adding a support via dialog.
Joint Specific Tabular: Right click a joint on the truss view and navigate to Supports...
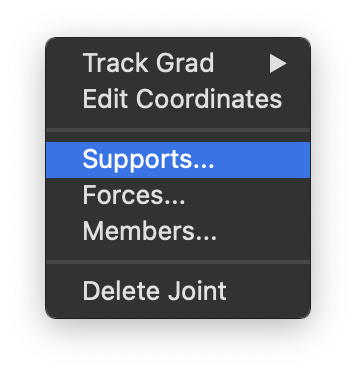
This will show all supports connected to the right clicked joint in a tabular view.
Press "Add" to add a support via dialog to that joint.
Managing Items
Truss items can be managed through multiple tabular views or through the truss view panel.
Truss View Panel: Right click any item on the truss view to delete it. To move a joint double click it, it should change color, then drag it to a new postition.
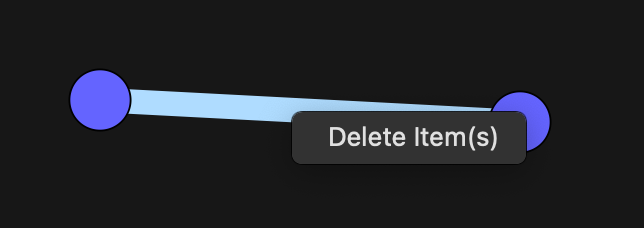
Select multiple items by holding the left mouse button and dragging either left or right. Dragging right will select any item that the lasso touches, dragging left will require the item to be completely within the lasso to be selected.
Info Tables: Edit joint coordinates by changing the x and y values in the info tables.
Global Tabular: Navigate to Edit>Manage>.
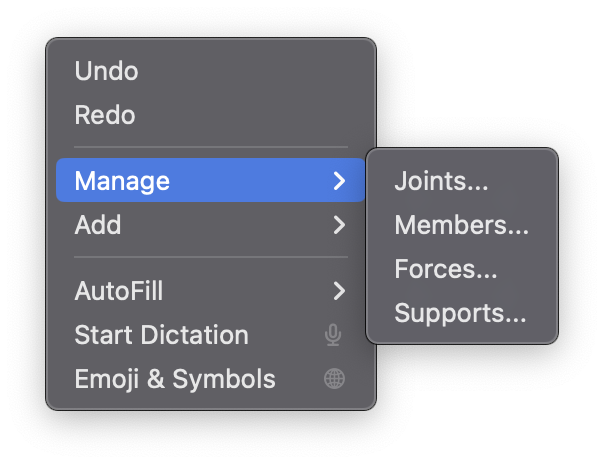
Any one of these options will show a tabular view of all corresponding items in the truss.
Joint Specific Tabular: Right click a joint on the truss view.
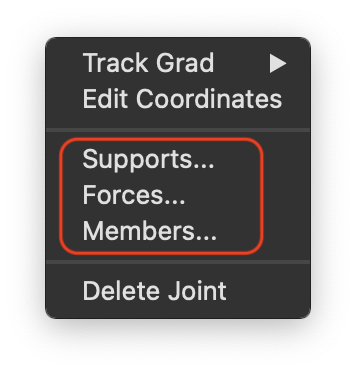
This will show all corresponding connected items to the right clicked joint in a tabular view.